¶ Laser Module
¶ 1. Laser Module Introduction
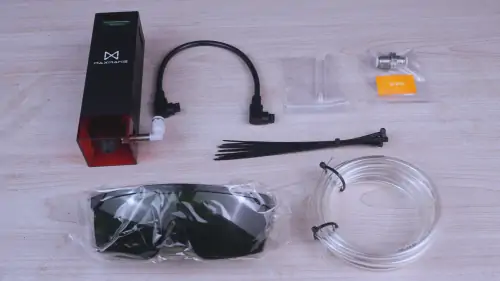
This laser is a 10W 450nm blue laser. Please verify that the following accessories are complete:
¶ 📦 Parts List
- ✅ Laser module × 1
- ✅ Connection cable × 1
- ✅ Focus assist block × 1
- ✅ Air hose adapter × 1
- ✅ Cable ties × Several
- ✅ Protective glasses × 1
- ✅ 6mm Air hose × 1
¶ 2. Laser Module Usage Specifications
The following are laser module usage specifications. Please read them carefully:
⚠️ Safety Regulations:
- Please install the laser correctly according to instructions before operating the laser. If not installed correctly, it may cause danger;
- During laser processing, ensure someone is near the equipment;
- Do not use laser to process flammable or explosive objects;
- Do not stack cutting consumables (for example, cutting two or more sheets at once, multiple sheets will burn more easily);
- Regularly clean processing debris to prevent fires caused by debris residue;
- High temperature is generated when the laser is working, do not touch to avoid burns;
- Do not observe the laser output point with naked eyes for extended periods to avoid eye discomfort; wear protective glasses;
- Do not process PVC and other chlorine-containing materials, polycarbonate, glass fiber, carbon fiber, uncoated metals, or materials containing halogens or heavy metals. Be sure to confirm material safety before processing.
¶ 3. Air Hose Installation Steps
The following are air hose installation steps. You can choose whether to install the air hose or not.
After installing the air hose, you can connect an external air pump yourself. During processing, it can blow air, which can improve cutting effects and engraving effects for some materials.
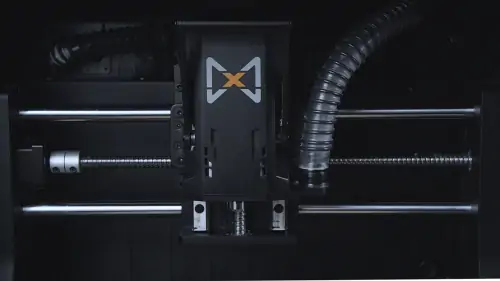
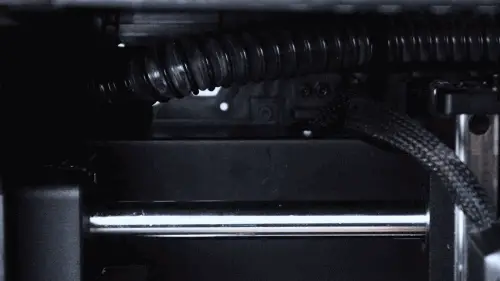
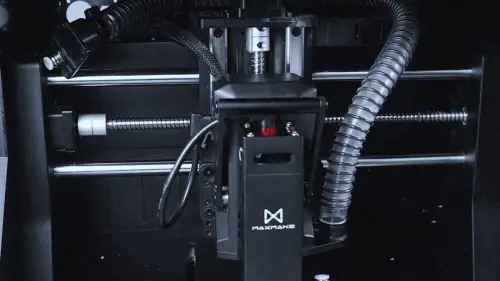
¶ Step 1: Move Spindle Position
When powered on, use movement control to move the spindle to the right half as shown:
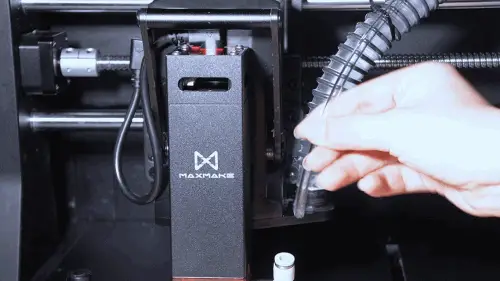
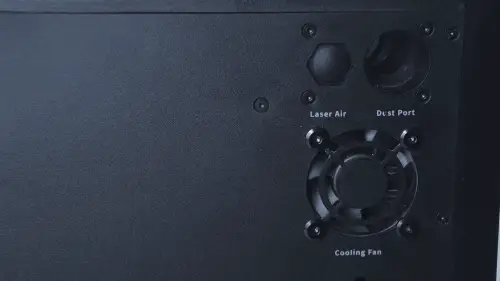
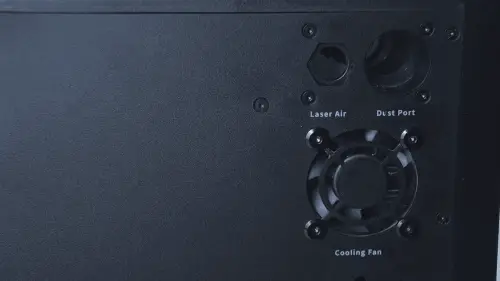
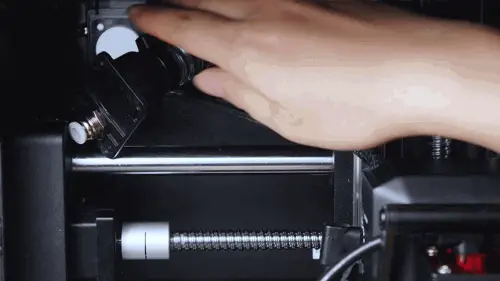
¶ Step 2: Remove Dust Plug
At the back of the equipment, remove the dust plug from the laser air source interface:
¶ Step 3: Remove Screws
Remove the 4 screws that secure the pipe bracket:
⚠️ Disassembly Notes:
- Please insert the wrench completely into the screw hole, carefully unscrew the screw, and don't apply excessive force to avoid stripping the threads
¶ Step 4: Prepare Adapter
Take out the air hose adapter and remove one nut:
¶ Step 5: Install Adapter
Remove the bracket from inside the equipment as shown, insert the adapter from the duct side, and secure with a nut:
¶ Step 6: Connect Air Hose
Take out the air hose and insert it into the connector on the duct side:
¶ Step 7: Secure Bracket
Put the bracket back and secure with the screws just removed. Don't apply excessive force to avoid stripping threads:
¶ Step 8: Secure Air Hose
Along the duct, use black cable ties to secure the air hose to the duct:
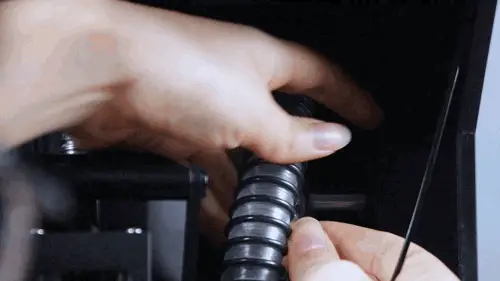
⚠️ Securing Notes:
Please do not tie the duct to the chain when securing, otherwise it will affect the X-axis movement of the equipment and cause squeezing of the duct
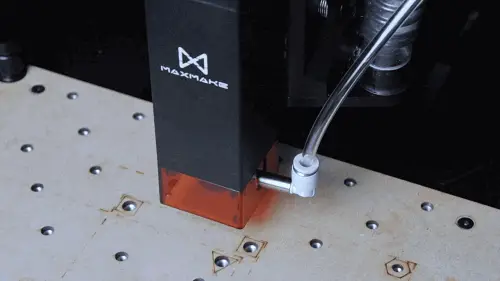
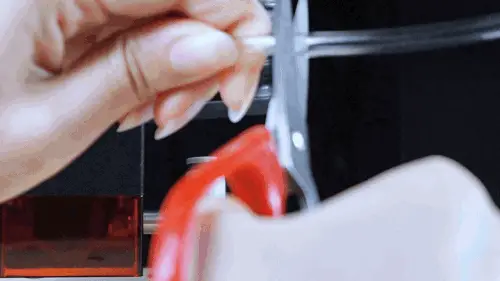
¶ Step 9: Connect Laser
After determining the air hose length, cut off the excess air hose and insert it into the air hose connector of the laser:
¶ Step 10: Store Air Hose
After use, press both sides and remove the air hose. Insert it into the groove as shown: