¶ MaxmakeLab CNC Processing - NC Program Import Processing Workflow
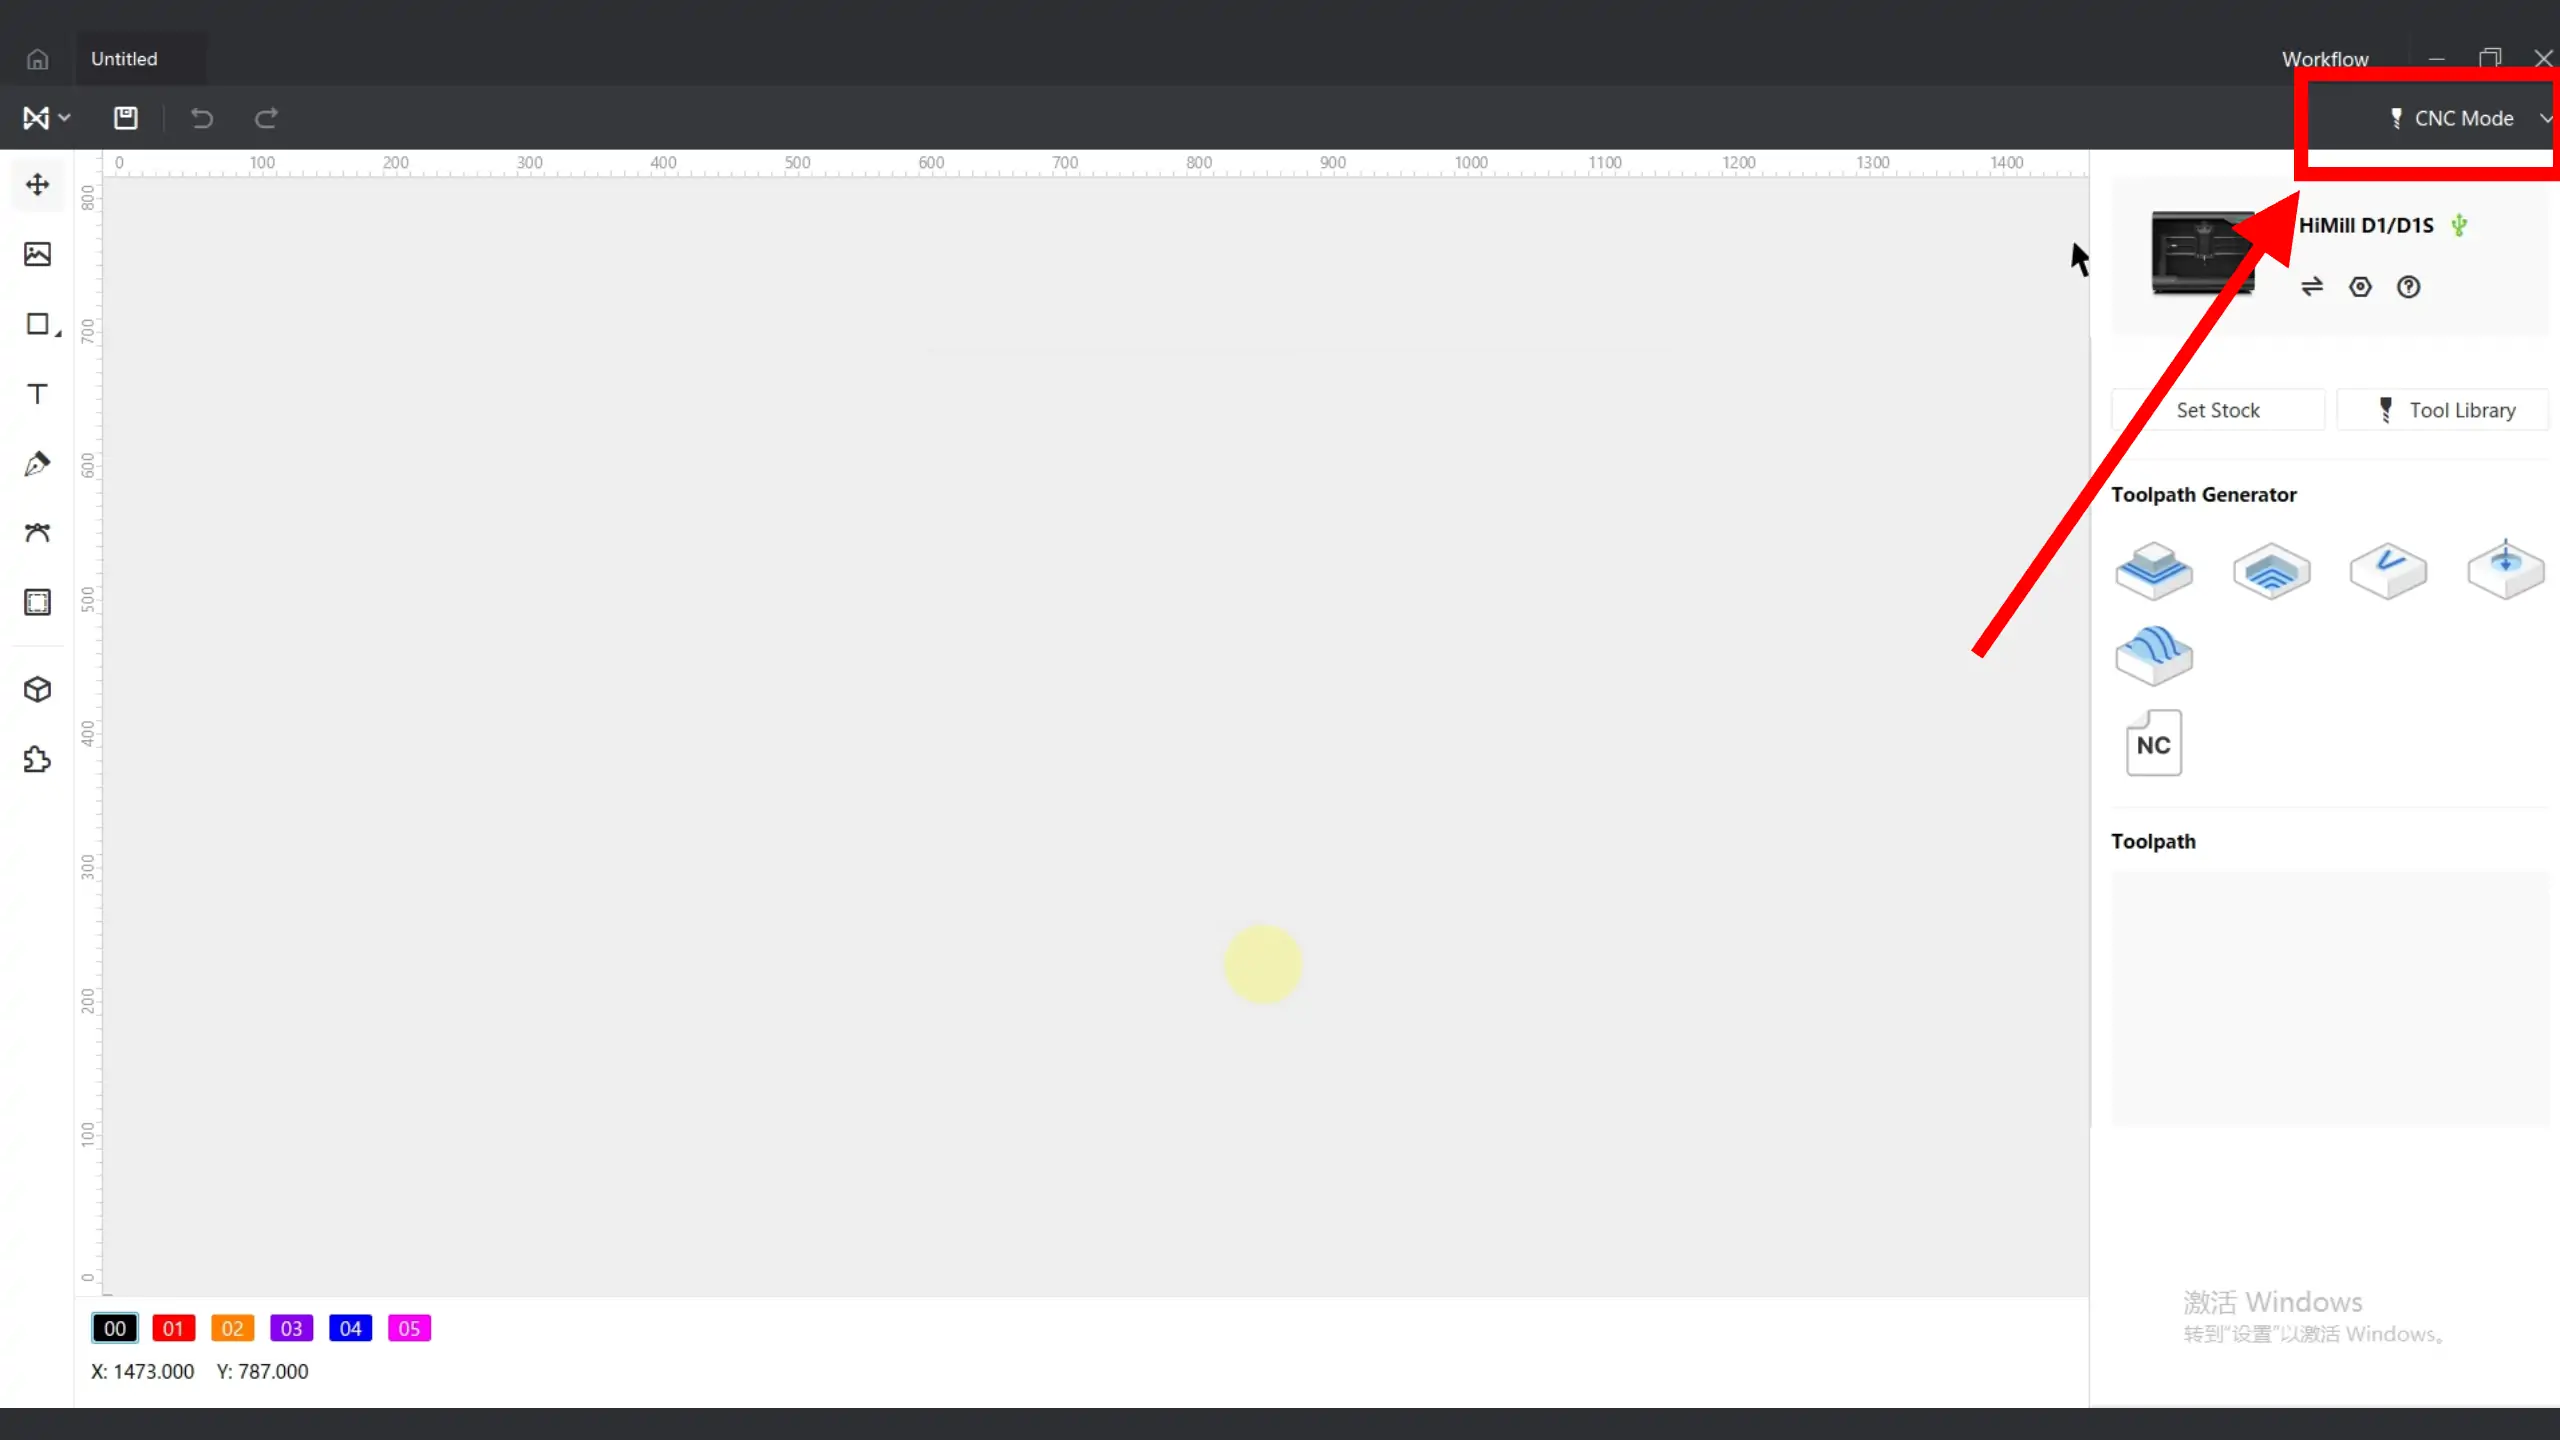
¶ 1. Switch to CNC Mode
Switch the mode to CNC mode.
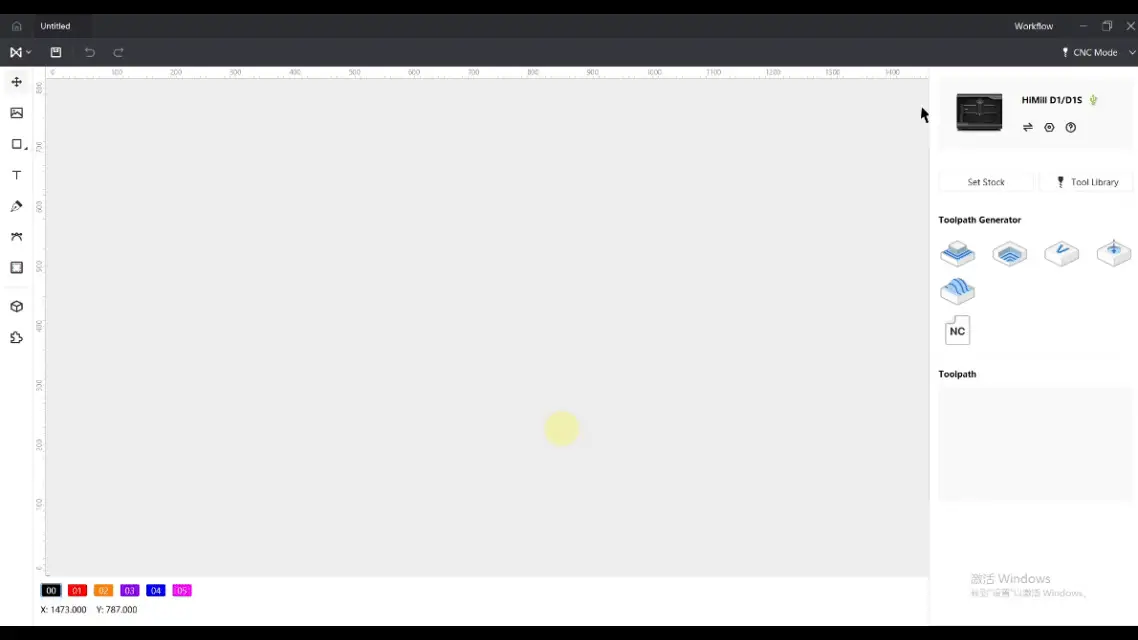
¶ 2. Import Files
After connecting the equipment, import the prepared NC program.
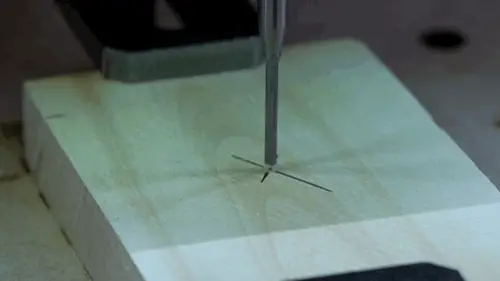
¶ 3. Movement and Positioning
Turn on the spindle and control the tool to move to the processing origin.
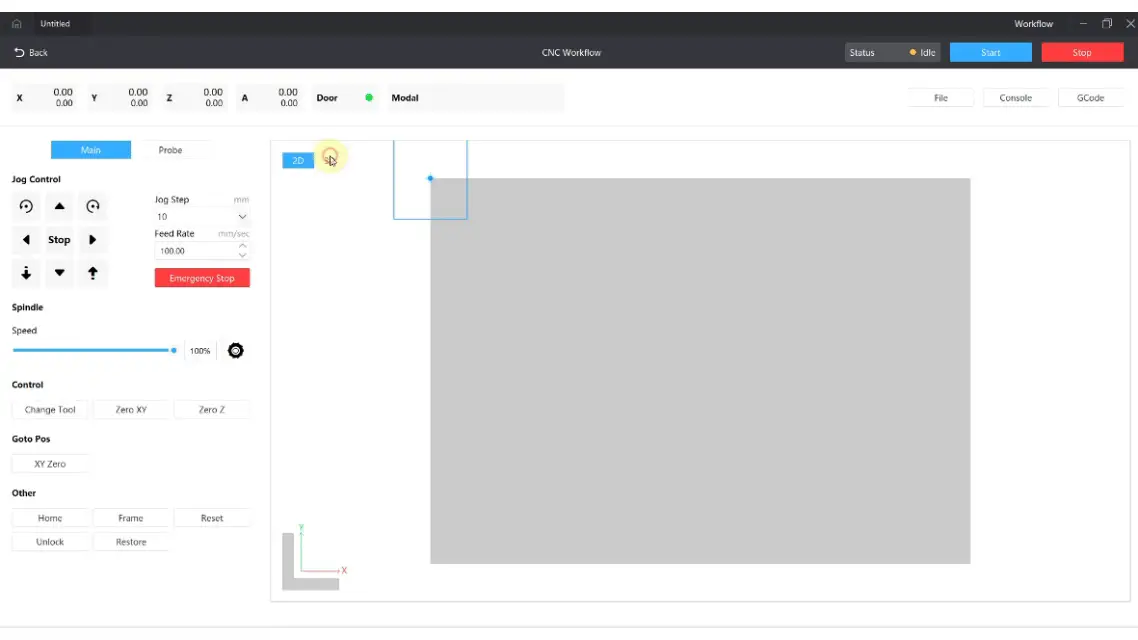
¶ 4. Set Origin
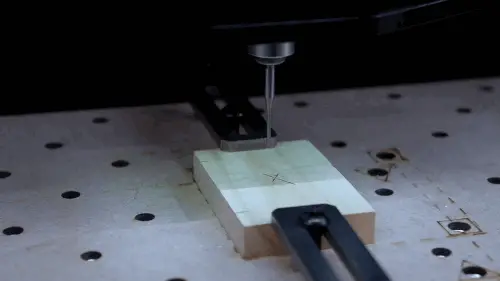
Using the processing origin at the workpiece center point as an example, when the tool is at the workpiece center point, click to set XY0.
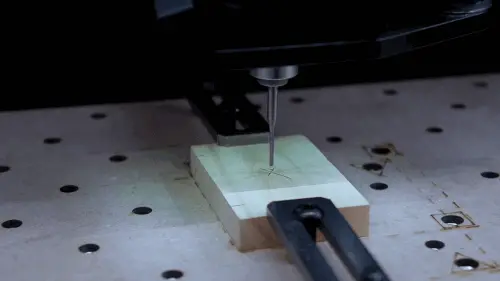

Slowly lower the Z-axis. When the tool just contacts the workpiece, click to set Z0.

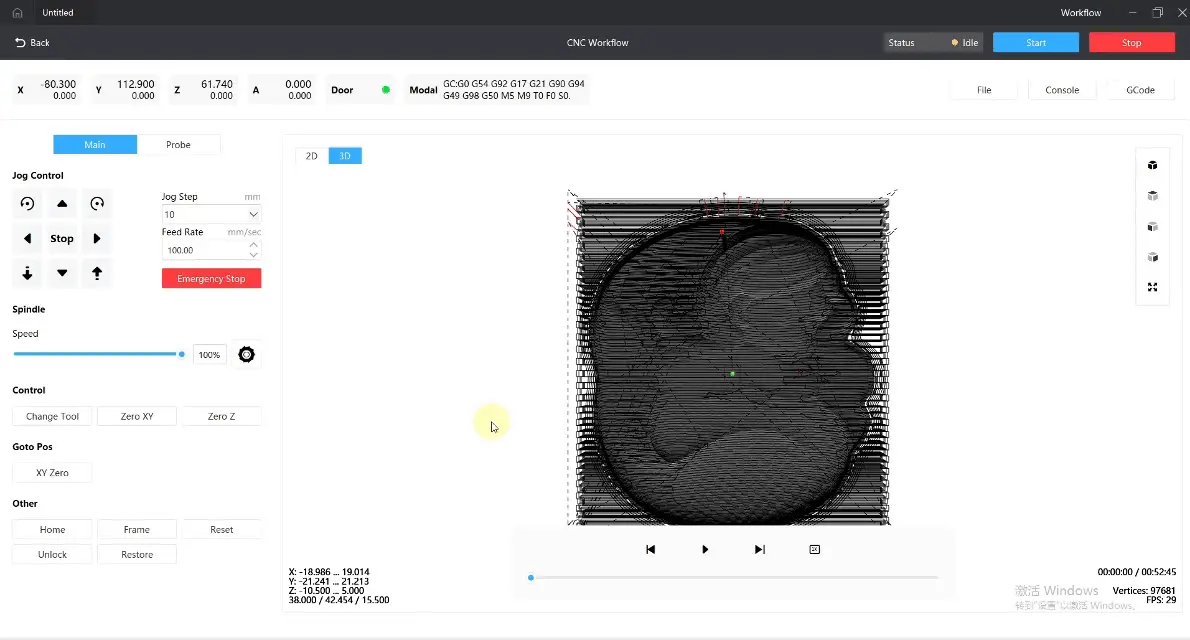
¶ 5. Preview Simulation
In the 3D interface, you can preview the simulation path.
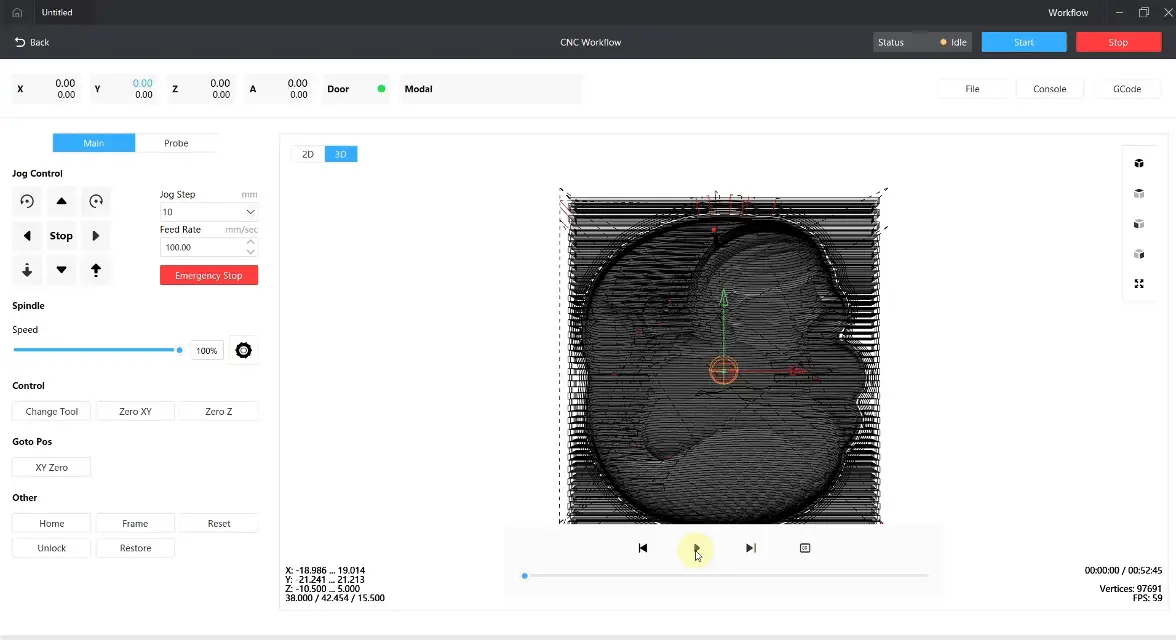
📋 Preview Simulation Tips:
- You can adjust the playback rate for real-time preview
- You can directly drag the progress bar
¶ 6. Transfer File and Start Processing
Click the start processing button to transfer the processing file to the device SD card.
According to the prompts, wait until the indicator light shows the rainbow rotating light effect, then long press the equipment button for 2 seconds to start processing.

⚠️ Processing Control Notes:
- During processing, single-click the button to pause processing. Long press for 2 seconds to resume processing
- If the safety door function is enabled, close the door before resuming processing; if the door is not closed, after long pressing for 2 seconds, the resume processing light effect will still be displayed, and finally it will become green steady light but the equipment will have no action
¶ 7. Parameter Adjustment During Processing
During processing, the feed rate can be changed.

⚠️ Parameter Adjustment Notes:
- During processing, it is not recommended to reduce spindle speed, especially for metal processing, to avoid increased load that could cause tool breakage
- After changing values, speed will gradually increase or decrease. You need to gradually increase or decrease values based on actual conditions