¶ Rotation Axis
¶ 1. Accessories Introduction and Chuck Adjustment
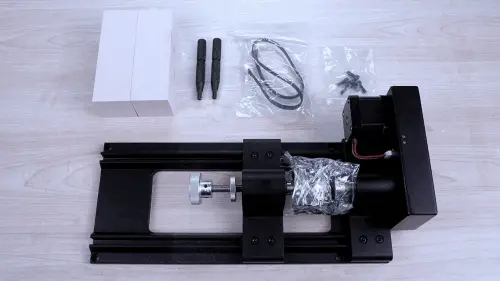
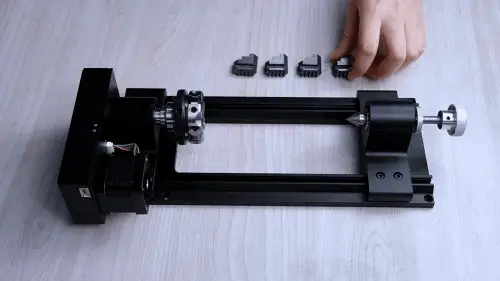
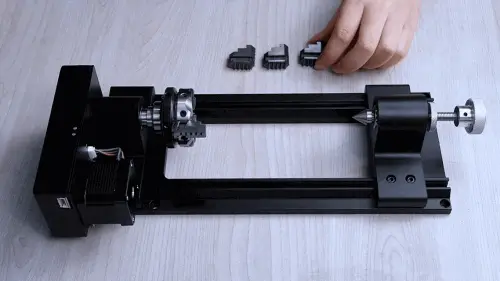
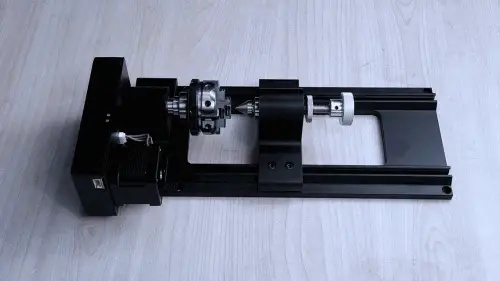
¶ 📦 Parts List
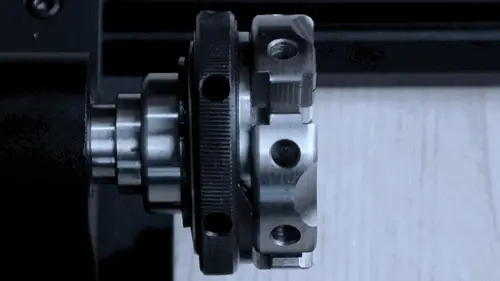
This rotation axis has a reduction ratio of 1:5, clamping range of 1mm-33mm, and expansion range of 16mm-50mm; the chuck is a 4-jaw chuck; it has built-in drive.
After unpacking, please first check if the following accessories are complete:
- ✅ Rotation axis body × 1
- ✅ 420 Machined wax × 2
- ✅ Wrench × 2
- ✅ Connection cable × 1
- ✅ Fixed screws × Several
All accessories are shown below:
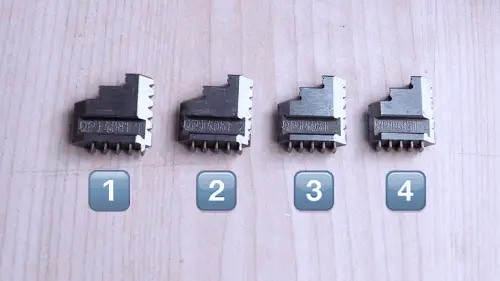
The chuck jaws can be installed in forward or reverse direction. Here is the method for adjusting the chuck jaw direction (if needed, you can use the chuck wrench).
Pre-installed in reverse direction. Following the order 1-2-3-4. If forward installation is needed, install the jaws in the order 4-3-2-1.
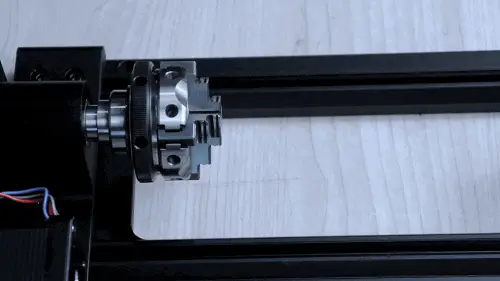
Rotate and open the chuck jaws to their maximum position.
Remove the chuck jaws and arrange them in the order 4-3-2-1.
Rotate the rotation axis at this position.
Install jaw number 4.

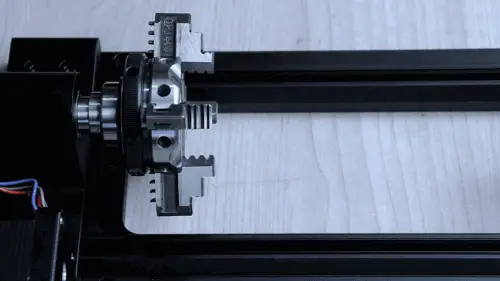
While pressing downward, rotate and install the next one after it locks.
Install the four chuck jaws in sequence.
¶ 2. Rotation Axis Installation Location
First take out the connection cable and insert one end into the rotation axis.
Use the screws from the accessories box to fix the rotation axis at the positions shown in the diagram.
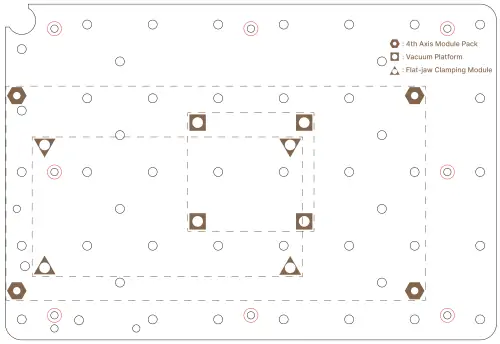
Installation process.

¶ 3. Connection Cable Connection
Open the dust plug at the front side of the equipment interior and insert the other end of the connection cable into the port.
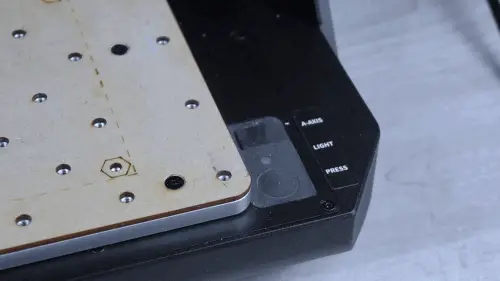
⚠️ Connection Notes:
The rotation axis interface does not support hot-swapping. Before inserting the connection cable, make sure the equipment is powered off!!!
¶ 4. Power-On Verification
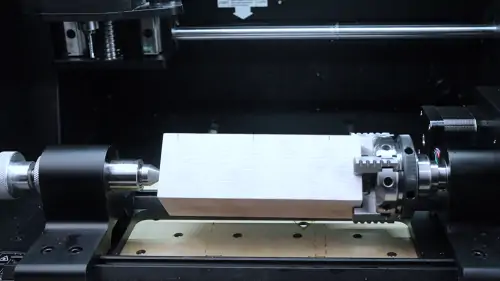
When the equipment is powered on, the rotation axis indicator light shows green indicating successful power-on, and the motor will also be powered and locked; after the equipment returns to zero, import the 4-axis NC program, and it can be used without modifying other settings.
¶ 5. Use and Maintenance
After use, you need to power off first, then unplug the connection cable; carefully clean around the interface and promptly replace the dust plug.
⚠️ Usage Notes:
- When fixing the workpiece, you can use the chuck wrench to ensure firm clamping
- When not using the rotation axis, make sure the dust plug is properly inserted into the interface
- If there are processed aluminum chips on the work surface, be sure to clean the aluminum chips near the interface to avoid entering the connection port, causing short circuits and damaging the equipment